
https://www.youtube.com/embed/XG-jNqkYzGE
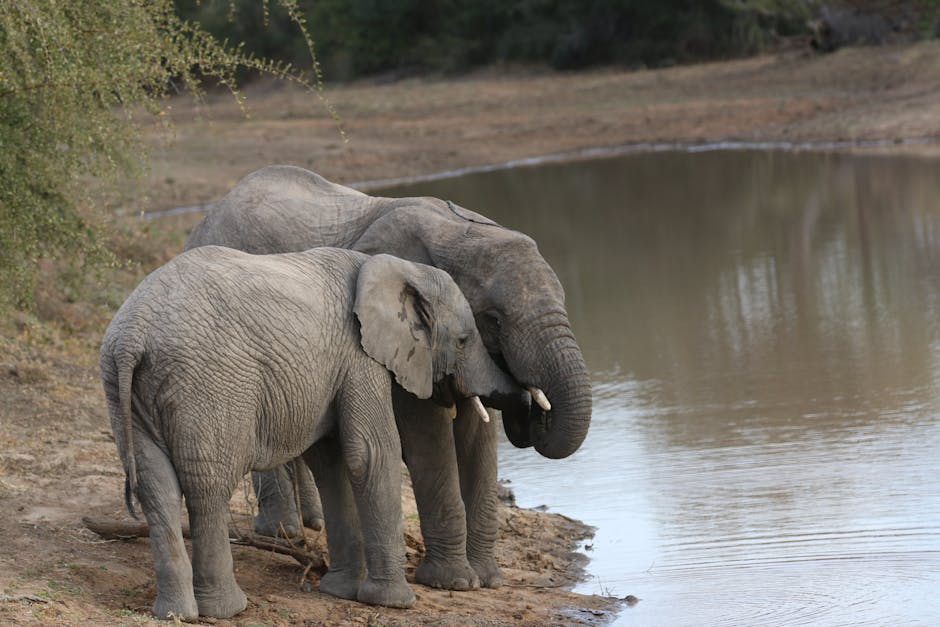
hey there so in the second part i showed you a basic way that you could get the markings of the trunk placed correctly however this is quite a time consuming process unlike what i am servicing currently in this part i will certainly start servicing structure in several of the darkness in the ears in the face this is quite a straightforward component as it just requires to be very loosely put in at this stage i am simply going to place some darker tones into a few of the shielding that i did in the very first part as this will create a more powerful comparison as well as thus give even more deepness to the image utilizing a 2b pencil i start to roughly pull in some of the patterns in the ear functioning over the shading that was placed in with the blender in the initial component as you can see i am working quite randomly with the pencil you can additionally see that i am not holding the pencil near the suggestion so as not to apply excessive stress via it also too the 2b is once again made use of blunt so as not to make any indentations in the paper at the same time i will certainly also be collaborating with an extremely blunt 4b pencil as this will build a somewhat darker tone by working really arbitrarily this will certainly create an extremely sketchy and detailed seek to the photo however this will certainly create an excellent base to build detail upon at a later stage even now anything that has been placed in can fairly easily be removed with the putty eraser if i need to using the blender i'' m arbitrarily functioning over the area that i have just done i simply softened the appearance slightly by swabbing the blender or food processor over it i can then make use of the putty eraser with a factor rolled onto the end of it to simply lighten and also highlight a few other areas i currently proceed applying more random patterns utilizing the 4b pencil this time functioning over a larger location this does look a little coarse so once again i just make use of the blender to soften the look of the pencil i can likewise apply some even more subtle tones by simply utilizing the blender or food processor on its very own relocating to the other side of the picture i now begin to construct even more tone and texture once more working in between the 2b and also 4b pencils along with the mixer and putty eraser the point that is a lot more recognizable on the ideal hand side of the image is that it is in more darkness and also as a result darker this will also at some point provide a great contrast to the general picture customarily any type of materials that i advise are connected in the description listed below and if anything is acquired i will get a small compensation at no added cost to you this is significantly valued as well as actually does help to support the channel any kind of inquiries please leave them in the comments section listed below as well as i will certainly do my greatest to address them in the following component i will certainly begin to deal with adding some of the information and structure to the photo thanks for watching as well as i will certainly see you in the next one
https://howtoplaythedjembedrums.com/how-to-draw-an-african-elephant-part-3-shading-and-contrast/
No comments:
Post a Comment